
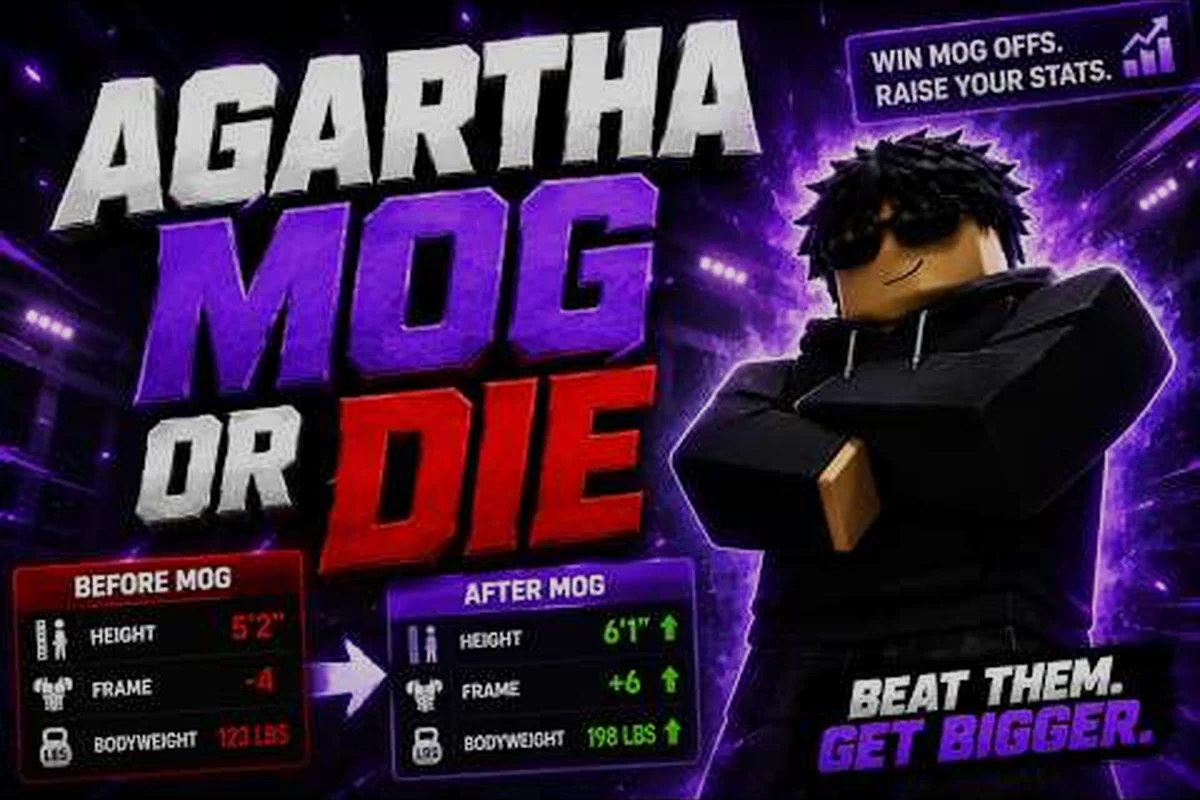
Every Mog or Die run rolls a fresh Genetic profile the moment you spawn, and that profile quietly decides how fast your four look stats climb for the rest of the run. This guide on Mog or Die genetics explained walks through how those random rolls work, which gene modifiers actually move the needle on Milk, Hammers, Picture Frames, and Water gains, and how players use rerolls to chase stronger starting conditions.
According to the Mog or Die page on Roblox, each new run generates a unique Genetic build that shapes your progression from minute one. Because rerolling costs MogPoints or Lucky Spins, understanding the underlying system is the difference between burning currency on garbage rolls and walking into Risk Zones with a build that actually scales.
How Genetics Work at Spawn
Genetics in Mog or Die are essentially randomized stat multipliers that the game assigns to your character the instant you enter a new world. They are not cosmetic, and they are not tied to your in-game look — they are a hidden layer of modifiers that sits underneath the four look stats (Bone Structure, Skin Quality, Jaw Definition, and Eye Area) and changes how efficiently every training action converts into stat points.
The mechanic is simple at first glance but layered once you start paying attention. When you swing a Hammer, drink Milk, or step on a Picture Frame, the base gain is multiplied by whatever Genetic modifiers your current run rolled. A run with Bone Boost and Milk Yield will level up Bone Structure noticeably faster than a run with neutral modifiers, even if the player behind the screen performs identical actions.
Because each roll is independent, Mog or Die genetics explained content always starts with one fact: no two runs feel the same. Players who farmed 50K Milk on one run might struggle to hit 20K on the next, and the variance comes almost entirely from the genetic roll rather than from any change in playstyle.
What Triggers a New Genetic Roll
Three distinct in-game events in Mog or Die produce a fresh Genetic roll, and understanding when each one fires is critical for optimizing your gene modifier progression during a session. Rather than receiving one permanent set, players cycle through new Genetic combinations as they progress, so timing your rerolls around the right trigger often determines whether you end up with a high-tier modifier stack or a bottom-tier handicap.
-
Starting a new run — every time you respawn or join a fresh server, a new set of gene modifiers is generated
-
Using a Reroll token — MogPoints and Lucky Spins both feed into a reroll system that swaps your current modifiers for a new random draw
-
Specific code rewards — some Mog or Die codes grant a free Genetic reroll on redemption, which is one of the reasons active code lists are tracked so closely by the community
Why the Roll Matters So Much
The opening minutes of a Mog or Die run are the most stat-efficient window you have, because early gains compound as you push into Risk Zones. A run that starts with a Milk Yield modifier and a Hammer Force modifier can pull ahead of neutral runs by 20-30% on Bone Structure within the first ten minutes, which is enough to unlock stronger abilities earlier and snowball from there. That compounding effect is the entire reason rerolling exists — players are not chasing a number, they are chasing a multiplicative head start.
Every Genetic Modifier Bucket, Explained
Community data suggests there are roughly 20+ distinct Genetic modifiers in the game, and the full Mog or Die genetics list continues to grow as the developer ships updates. Modifiers generally fall into four buckets based on which look stat or training source they amplify. Below is a working Mog or Die all genetics reference based on what players have documented so far.
| Modifier | Primary Stat Affected | Effect | Best Used For |
|---|---|---|---|
| Milk Yield | Bone Structure | Multiplies Milk-based gains by 1.2x-1.5x | Early farming routes |
| Hammer Force | Jaw Definition | Increases Hammer stat conversion | Risk Zone prep |
| Frame Focus | Skin Quality | Boosts Picture Frame gains | Mid-game pushing |
| Water Boost | Eye Area | Improves Water-source multipliers | Late-game scaling |
| Bone Boost | Bone Structure | Flat +10-15% to Bone actions | All-purpose rolls |
| Jaw Tension | Jaw Definition | Stronger Jaw scaling on Hammers | King build routes |
| Skin Tone+ | Skin Quality | Improves Picture Frame and Water synergy | Looksmaxxing runs |
| Eye Sharp | Eye Area | Multiplies Eye stat from any source | Speedrun starts |
| Neutral Gene | All | No modifier applied, baseline gain | Reroll fodder |
| Lucky Roll | Random | One random modifier amplified to 2x | Jackpot draws |
A few of these modifiers are confirmed on the official Mog or Die page, while others are documented through community testing and shared build logs. Because the developer is actively tuning the system, the live Mog or Die all genetics roster may differ from any external list at any given moment.
Tier S Modifiers
The top of the Mog or Die genetics tier is dominated by modifiers that multiply a frequently-used training source. Milk Yield sits in S-tier because Milk is the most accessible resource in the early game, so a modifier that multiplies its gain pays off every minute you play. Hammer Force is similarly strong because Hammers are the primary stat driver in mid-game Risk Zones.
Players chasing top builds often reroll specifically for combinations like Milk Yield + Hammer Force, because the pair covers both halves of the early-to-mid progression curve without burning extra gene slots. A typical 12-cell genome can only afford one resource multiplier and one stat driver at S-tier, so stacking these two lets new players skip the usual "switch to Hammers around Day 4" pivot and instead push straight into Risk Zone 2 with roughly 15-20% faster stat gains per shift. This synergy is also why Milk Yield + Hammer Force appears in most published "Mog or Die starting genetics" loadouts.
Tier A and B Modifiers
Modifiers like Frame Focus and Water Boost fall into A-tier because their target sources (Picture Frames and Water) are gated behind later content, so the payoff window is shorter. B-tier modifiers such as Skin Tone+ and Eye Sharp are situational — strong if they match your build plan, mediocre if they do not.
The Mog or Die genetics tier is not static — modifiers shift between solo and coordinated group play because training resources like Gene Splice Tokens and limited-time breeding events are distributed unevenly across the party. A modifier that is A-tier in solo play, such as Frame Focus gating rare Picture Frame drops, might drop to B-tier in coordinated group play, where the party pools resources and the same gene modifier becomes redundant once a single teammate specializes in that target source. Conversely, B-tier situational modifiers like Skin Tone+ can climb to A-tier value in group play when build plans align across multiple party members, since shared cosmetic unlocks amplify aesthetic synergy.
How Modifiers Multiply Look Stat Gains
Knowing the modifier names is one thing; understanding how they interact with the four look stats is the real lever. Mog or Die gene modifiers behave like equipment prefixes: they attach to your run, they apply multiplicatively on top of base gains, and they stack with each other when their target stats overlap.
| Source | Base Gain | With Tier-S Modifier | Effective Gain |
|---|---|---|---|
| 1 Milk | 10 Bone | Milk Yield 1.4x | 14 Bone |
| 1 Hammer swing | 12 Jaw | Hammer Force 1.3x | 15.6 Jaw |
| 1 Picture Frame | 8 Skin | Frame Focus 1.25x | 10 Skin |
| 1 Water use | 9 Eye | Water Boost 1.5x | 13.5 Eye |
A single S-tier modifier can swing your effective gain by 25-50%, which is enormous in a system where every run is a race against the others on the server. This is also why community guides rank modifiers primarily by how often the source they boost is used, rather than by raw multiplier size — a 1.5x on a rare source is weaker than a 1.2x on a spammable one.
Modifier Synergy Stacking
When two modifiers in the same run target the same stat, they multiply rather than add. A run with both Bone Boost (1.15x) and Milk Yield (1.4x) produces 1.15 × 1.4 = 1.61x effective gain on Milk-based Bone Structure actions. This kind of Mog or Die genetics synergy is what rerollers are actually hunting — not one strong modifier, but two compatible ones.
Synergy is also why Neutral Gene rolls are so disappointing. A neutral roll wastes a modifier slot that could otherwise be pushing one of your four stats harder, and because reroll currency is finite, every neutral result is a real cost.
Anti-Synergy and Dead Slots
The flip side of synergy is anti-synergy, which happens when a modifier targets a source you never use. If you are running a Hammer-only build and roll a Water Boost modifier, the gene is effectively dead for your strategy. Some Mog or Die genetics explained writeups gloss over this, but it is one of the most common reasons new players reroll five times and end up with a worse build than they started with.
Mog or Die Starting Genetics and Reroll Strategy
Mog or Die starting genetics are assigned the moment your character loads in, and the first 30 seconds of any run are the window to decide whether to keep or reroll. Rerolling costs MogPoints or Lucky Spins, so the decision is not free — burning all your currency on the first run is a common rookie mistake.
| Decision | When to Keep | When to Reroll |
|---|---|---|
| Single S-tier modifier | Use it, push hard early | — |
| Two compatible modifiers | Lock in, run is strong | — |
| One neutral + one low-tier | — | Reroll, dead slot is wasted |
| Three low-tier modifiers | — | Hard reroll, all sources weak |
| Lucky Roll outcome | Keep regardless of target | — |
The general rule is: keep the roll if at least one modifier is S-tier or if two modifiers target overlapping stats (good synergy) — for example, a Speed roll paired with a Pickup Range roll lets you vacuum XP orbs faster, compounding the value of both. Otherwise, reroll until you land a strong roll, but cap your spend at roughly 3–5 Lucky Spins per attempt; burning 10+ rerolls chasing a perfect genetic spread is mathematically worse than running an A-tier modifier set and saving currency for mid-run Gene Splicer upgrades.
Mog or Die genetics synergy in build planning
Reroll decisions should always be made in the context of the build you actually want to play, which is where synergy evaluation becomes critical. Players running a King build want at least one Jaw or Hammer-targeted modifier, while players pushing a counter build lean toward Eye Area and Water modifiers. Chasing modifiers that do not match your build plan is one of the fastest ways to waste a reroll budget.
Because build choice and Genetic roll are tightly coupled, looking at a Mog or Die tier list of top builds before you commit to a reroll strategy is a smart move — the strongest rolls for one build can be mediocre for another.
Reroll Economy and When to Stop
Reroll economy is the hidden layer under the Mog or Die genetics list. MogPoints are earned through gameplay milestones, Lucky Spins come from codes and events, and both feed into a finite pool that resets per account rather than per run. Spend it all on the first run and you are stuck with whatever the next ten rolls give you; save too much and you miss the early-compound window where modifiers matter most.
Most veteran players follow a simple rule: spend the first three rerolls chasing an S-tier modifier, then stop. If the fourth roll is still neutral, accept it and play the run — neutral modifiers are not a death sentence, they just mean the run is about execution rather than multipliers.
Reroll Priority Order
When deciding what to reroll for, the priority order that community testing generally agrees on is based on how early each gene modifier unlocks and how frequently its boosted resource is consumed during a typical Mog or Die run — early-game Milk production feeds into nearly every downstream crafting chain, while Hammer Force and Frame Focus scale harder but pay off only after specific mid-game items are researched.
-
Bone Boost or Milk Yield first, because Milk is the most accessible source
-
Hammer Force second, because Hammers dominate mid-game
-
Frame Focus or Water Boost third, gated behind later content
-
Anything else is a bonus
Two Reroll Mistakes That Cost MogPoints
The two most common reroll mistakes are rerolling a good roll out of greed (a single S-tier modifier is worth more than the gamble on a double roll), and rerolling without a build plan (chasing generic "strong" modifiers rather than build-specific ones). A third mistake worth flagging is rerolling right before a server event — sometimes the modifier you have is the one that multiplies event rewards, and trading it away is a real loss.
For a deeper look at how Genetic choices interact with ability loadouts, the Mog or Die counter build breakdown covers how modifier-stacking plays into the meta and which Genetic profiles the strongest counter strategies rely on.
Mog or Die Genetics Synergy With Look Stats
The deepest layer of the system is how Genetic modifiers interact with the four look stats themselves. Bone Structure, Jaw Definition, Skin Quality, and Eye Area each have their own scaling curve, and modifiers that boost one stat early do not always carry over to the others. A run with Milk Yield will pull ahead on Bone Structure but may lag on Jaw Definition if no Hammer modifier is rolled.
| Look Stat | Best Modifier Pairing | Common Mistake |
|---|---|---|
| Bone Structure | Milk Yield + Bone Boost | Ignoring Jaw entirely |
| Jaw Definition | Hammer Force + Jaw Tension | Pushing Jaw before Hammers unlocked |
| Skin Quality | Frame Focus + Skin Tone+ | Rerolling Water Boost you actually need |
| Eye Area | Water Boost + Eye Sharp | Running Eye build on a Hammer-heavy server |
This is also where the variance the community talks about comes from. Two players performing identical actions on the same server can end runs with very different stat totals, because their Genetic rolls pushed different look stats at different speeds.
Long-Run Implications
Across many runs, the modifier that shows up most often in successful players' opening inventories is some form of Milk or Hammer booster, simply because those sources are available from the very first minute. Late-game modifiers like Frame Focus are powerful, but they only matter once you have access to Picture Frames, which is several minutes into a run.
That timing gap is one of the reasons Mog or Die genetics explained guides keep circling back to the same advice: reroll for early sources first, accept whatever late-game modifiers come with them, and play the run. In practice, this means prioritizing Milk, Hammer, or any Gene Modifier unlocked at the shop before minute 2 over chasing synergy-bait like Frame Focus or Lucky Seven, which only activate once Picture Frames and dice sources appear much later. A typical speedrun opener therefore ignores a flashy late-game S-tier roll if it costs a third reroll, because every additional reroll burns ~5–8 seconds and pushes the early economy window past its peak. Veteran runners call this the "first source wins" heuristic: a common Hammer boost on frame 1 outperforms a rare Frame Focus on frame 12, since the Hammer contributes damage across every wave while the Focus modifier sits idle until Picture Frames finally spawn. The same logic applies to choosing between two late-game offers — pick whichever one extends your current strongest build, not whichever one looks best on a mog or die genetics tier list in isolation.
Frequently Asked Questions
How do I reroll Genetics in Mog or Die?
You reroll by spending MogPoints or Lucky Spins at the Genetics menu, which is available from the spawn screen and from the in-game menu. Each reroll discards your current modifier set and rolls a fresh random one, so the decision to reroll is a permanent one for that run.
What is the best Genetic modifier in Mog or Die?
There is no single "best" Genetic modifier in Mog or Die — the strongest Gene depends on which look stat you plan to stack, since modifiers multiply progress differently across Risk Zones. For most reroll strategies, the top-tier modifiers are those that boost Picture Frames and Water gains during world events, giving the fastest mog scaling per Lucky Spin spent.
Can I get two S-tier modifiers in one roll?
Yes, though it is rare. The chance of rolling two S-tier modifiers in a single draw is estimated by players at under 5%, which is exactly why reroll budgets get burned quickly. When you do land a double S-tier roll, the standard advice is to stop rerolling and commit.
Do Genetic modifiers carry over between runs?
No. Mog or Die starting genetics are generated fresh for every run, and modifiers do not persist between sessions. The only things that carry over are your MogPoints, your Lucky Spins, and any unlocks purchased outside the per-run modifier system.
What is Mog or Die genetics synergy?
Mog or Die genetics synergy refers to modifiers that multiply the same stat or compatible stats, which then stack multiplicatively rather than additively. A run with Bone Boost and Milk Yield produces a stronger combined effect than either modifier alone, which is the core reason rerollers chase compatible pairs instead of just any S-tier roll.