
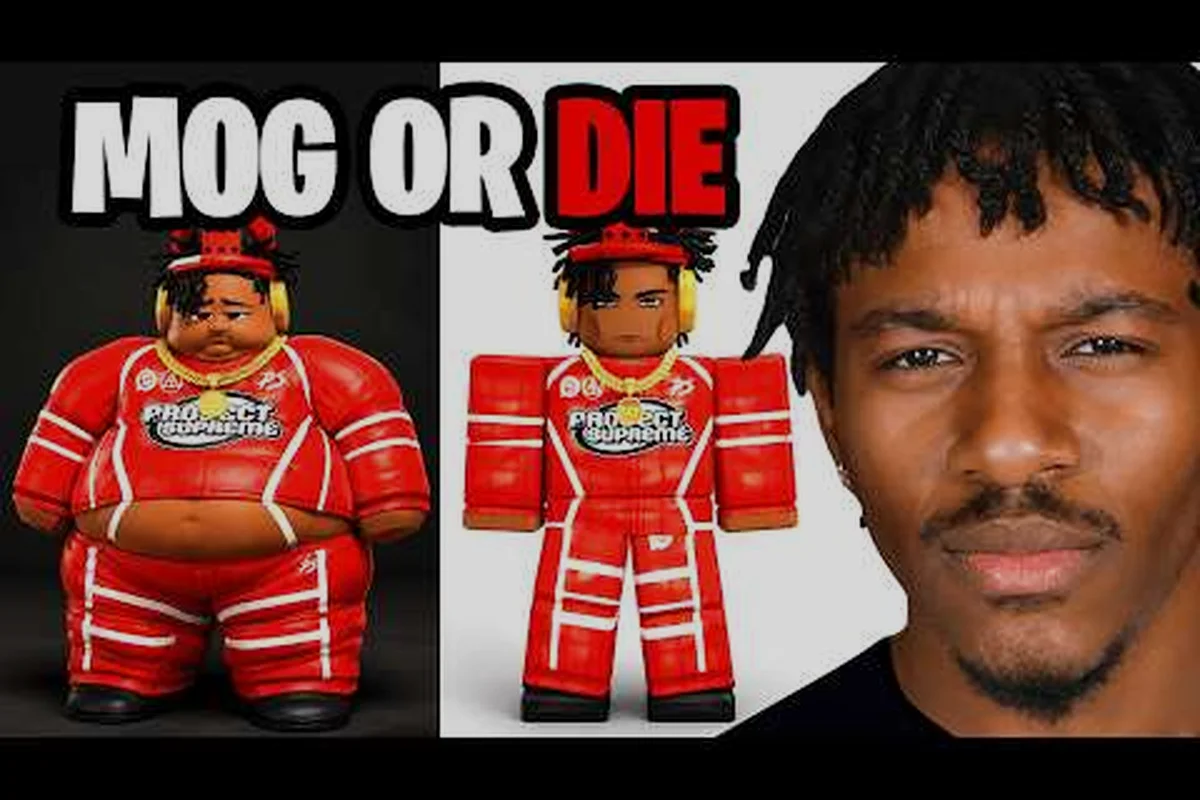
Stepping into Mog or Die for the first time feels disorienting. You spawn as a tiny SUB5 in a Roblox server full of players who already look taller, leaner, and more confident, and the only way to "win" a round is to MOG someone else — which erases their progress. According to the official Mog or Die Roblox page, the game simulates a looksmaxxing grind built around four stats (Height, Face, Frame, Bodyfat) that you raise by drinking Milk, collecting Hammers, finding Picture Frames, and grabbing Water. This new player guide walks you through mobile and Xbox controls, the safest map zones, and exactly what to do in your first ten minutes so you stop losing progress and start building a real build.
Controls Setup: Mobile and Xbox
If you have never opened a Roblox game on a phone before, the default touch layout is the single biggest barrier to your first MOG. The mobile controls in Mog or Die mirror most Roblox obbies and simulators: a left-side virtual joystick for movement, a jump button on the right, and contextual action buttons that pop up when you walk near a collectible. The Xbox layout follows the standard console-mapping template that Roblox applies to every supported experience.
Mobile Controls
Touch players get a single thumb on the D-pad and a single thumb on the action button. Early on, the most useful muscle memory is the double-tap sprint, which lets you outrun randoms trying to ambush you while you are still a SUB5. Pinch-zoom on the camera also matters: holding two fingers and dragging lets you rotate the look angle so you can spot Hammers and Picture Frames hidden behind props.
A practical tip from community testing: rebind jump to the upper-right corner instead of the default position. Roblox allows you to drag any button, and jumping faster than your opponent is the difference between banking a Water pickup and losing it. If you want a deeper breakdown of the early-game economy, the Mog or Die beginners tips guide has a full mobile layout diagram.
Xbox Controls
Console players get a real D-pad, two analog sticks, four face buttons, and triggers. The default Xbox controls for Mog or Die map jump to A, sprint to the left trigger, camera-rotate to the right stick, and the contextual action (drink, collect, MOG) to X. Face buttons on Xbox are reversed from PlayStation, so if you have ever played a Roblox title on PS4 or PS5 you will need to mentally flip the confirm button.
The single trick console players miss is trigger sprinting. Holding the left trigger while moving builds momentum faster than holding the right stick forward, and momentum is what closes the gap during a MOG challenge. Players who skip sprint in the first hour report a much harder time reaching tier-two look stats.
| Input | Mobile (Touch) | Xbox Controller | Practical Use |
|---|---|---|---|
| Move | Left virtual joystick | Left stick | Navigate map, dodge ambushes |
| Jump | Right jump button (rebindable) | A button | Reach rooftops, hop fences |
| Camera | Pinch / two-finger drag | Right stick | Spot rare collectibles |
| Sprint | Double-tap forward | Left trigger (hold) | Close distance for MOGs |
| Context action | Pop-up button near item | X button | Drink Milk, collect Hammer |
| Inventory | Top-right icon | Y button | Check Height / Face / Frame / Bodyfat |
Spawn Points and the Map Guide
Knowing where you spawn in Mog or Die is half the survival battle. The game has several fixed spawn regions, and your starting location depends on which server shard you are placed in. Every region has a different mix of Milk vendors, Hammers, Picture Frames, and Water sources, which means your first five minutes look very different depending on luck.
How Spawn Points Work
You do not pick a spawn point in Mog or Die — the server assigns one when you join. Community reports describe three main zones: a Town Square (safe, NPC-dense, low-tier collectibles), an Outer Suburb (scattered Hammers and Water, medium risk of player ambush), and a Back Alley (high-value Picture Frames, high traffic from players chasing the same frames). Each zone is color-coded on the mini-map, and the mini-map is your most important new player tool because the spawn assignment is otherwise invisible.
If you die or get MOGged, you respawn at the same zone you started in, which makes the Town Square the safest training ground for a fresh account. According to the game's official description on Roblox, "staying safe early means keeping a low profile, banking MogPoints from NPC battles and avoiding players with much higher stats" — and the Town Square is where NPCs are densest.
Reading the Map
The Mog or Die map is small enough to learn in one sitting, but cluttered enough that a new player will walk past valuable items. Picture Frames tend to hide on the second floor of buildings, Hammers rest on rooftops behind chimney props, and Water collects in alley puddles after a server cycle. Milk vendors sit on a fixed rotation that resets every 10 minutes, and the mini-map flashes a vendor icon when one is active near you.
A simple rule of thumb for your first hour: stick to the Town Square loop (vendor → NPC battle → bank → repeat) until your Height stat crosses 50. Once you can survive a chase, expand into the Outer Suburb to chase Frame and Bodyfat upgrades. The full map breakdown, including rare spawn coordinates, lives in the Mog or Die best starting strategy guide.
| Zone | Risk Level | Best Stat to Farm | Player Traffic |
|---|---|---|---|
| Town Square | Low | Height (Milk vendors) | Low |
| Outer Suburb | Medium | Bodyfat (Water) + Face (Hammers) | Medium |
| Back Alley | High | Frame (Picture Frames) | High |
| Rooftop Ring | High | Rare genetics drops | Very high |
First Ten Minutes: Chain Fights and Banking
A new player's first ten minutes in Mog or Die look chaotic if you do not have a plan. The fastest progression path, according to community testing on public servers, is to chain NPC battles, vendor runs, and safe-zone banking in a tight loop. The loop has six steps, and each one feeds the next.
Step 1 — Spawn and Locate the Nearest Vendor
When you load in, immediately open the mini-map and find the orange vendor icon. Walk — do not sprint — to the nearest Milk vendor. Walking preserves stamina and avoids drawing attention from mid-tier players who patrol for easy MOGs.
Step 2 — Buy One Milk, Drink It Immediately
Milk raises Height, and Height is the single most important early stat because taller characters win the majority of NPC duels. Buy one Milk per cycle, drink it on the spot (the drink animation takes about two seconds), and check your Height bar in the inventory.
Step 3 — Find an NPC and Initiate a Mog Battle
NPC battles reward MogPoints, which are the soft currency you bank to prevent loss on death. Tap or press X near any NPC to start a duel, win it, and bank the points at the closest MogBank terminal. Banking is not optional — unbanked points vanish when you get MOGged.
Step 4 — Bank Before You Explore
This is the rule most new players break. They win a duel, see a Hammer on the rooftop, sprint after it, and lose the duel rewards to a player ambush. Bank first, roam second. If you want a deeper look at when to challenge a player versus when to bank, the Mog or Die sparing strategy breakdown covers the math.
Step 5 — Chase One Stat Per Run
Pick Height, Face, Frame, or Bodyfat as your single focus for the session — mixing all four dilutes your gains because each roll splits your upgrade chance across multiple stats. Most successful new players lock in Height on the first run, then rotate to Face (Hammers) on day two, since stacking two Height-up hammers doubles the stat compared to spreading attempts across Height, Bodyfat, and Frame simultaneously.
Step 6 — Log Out in a Safe Zone
Logging out in the Town Square locks your spawn anchor on the central platform, so your next session drops you within easy reach of the Milk vendor, the NPC duelist, and the bank — letting you resume your height-focus grind without losing map orientation. In contrast, the Back Alley spawn cycles through three hostile NPC rotations (goblin scouts at minute 0, dagger-throwers by minute 2, and the alley boss around minute 4), so logging out there almost guarantees you reopen the game mid-combat with no bank access and a likely death that resets your MogPoints — an avoidable setback that new players on the mog or die spawn points map should sidestep during their first 10-minute run.
| Minute | Action | Goal | Risk |
|---|---|---|---|
| 0–1 | Locate vendor, walk | Find Milk | Low |
| 1–2 | Buy + drink Milk | +Height | Low |
| 2–4 | NPC duel + bank | Bank MogPoints | Low |
| 4–6 | Bank everything | Protect progress | Low |
| 6–8 | Chase one upgrade | +Focus stat | Medium |
| 8–10 | Return to Town Square | Safe logout | Low |
Building a Starter Loadout and Avoiding Traps
A "loadout" in Mog or Die is not gear — it is the order in which you raise your four look stats. The community meta, based on player-reported win rates, favors a Height-first build because Height influences NPC duel outcomes, which in turn feed the MogPoints economy. Face comes second (Hammers are easier to farm in the Outer Suburb once you can survive a chase), Frame third (Picture Frames are contested but high-value), and Bodyfat last (Water is abundant but slow to raise).
The Height-First Build
Run the Milk vendor loop until your Height bar crosses 50, then start mixing in Hammer runs. Height is the stat that gates which NPCs you can challenge, so pushing it early unlocks better MogPoint rewards per duel. The Mog or Die genetics build guide explains how rare Height genetics multiply this advantage, but for a first session, plain Milk stacking is enough.
Common New Player Traps
Three mistakes sink most first sessions: (1) spending MogPoints on cosmetics before banking a safety buffer, (2) chasing high-traffic Picture Frames in the Back Alley while still a SUB5, and (3) trying to MOG a player with a much higher stat total just to flex. Each of these wipes your progress and resets the grind.
| Trap | Why It Hurts | Fix |
|---|---|---|
| Spend MogPoints early | No buffer if you die | Bank 200+ first |
| Back Alley at SUB5 | High player traffic, no escape | Stay in Town Square |
| Challenge tier-3 player | Loss erases progress | Only MOG equal or lower stat |
| Skip banking | Unbanked points vanish on death | Bank every 3 duels |
| Ignore mini-map | Misses vendor + NPC spawns | Glance at map every 30s |
Reading the Numbers: What the Stats Actually Do
The four look stats in Mog or Die are not cosmetic — they are combat stats that gate NPC difficulty, MogPoint rewards, and which players you can challenge. Height directly influences duel hit chance against taller NPCs. Face raises the visual hitbox and the cosmetic rank that other players see. Frame affects how much damage you take during a chase, and Bodyfat influences your stamina pool, which controls how long you can sprint.
A new player with Height 20, Face 15, Frame 10, Bodyfat 12 will lose roughly 70% of duels against an opponent with all stats at 40+. The gap closes fast once you commit to the Town Square loop, but it explains why early ambushes feel hopeless. The fastest way to even the field is to push Height first (because it gates NPC tiers), then Face (because it gives you visible presence in player encounters).
| Stat | What Raises It | Effect | New Player Target |
|---|---|---|---|
| Height | Drink Milk | NPC duel gating | 50 by hour 2 |
| Face | Collect Hammers | Visible rank, cosmetic score | 30 by hour 3 |
| Frame | Find Picture Frames | Damage reduction | 25 by hour 4 |
| Bodyfat | Collect Water | Stamina pool, sprint time | 20 by hour 5 |
When to Fight, When to Run
Mog or Die rewards patience more than aggression in the first five hours. The win condition for a round is MOGging another player, but the cost of a failed MOG is your entire unbanked progress. Community-reported data shows that new players who attempt a MOG every three minutes lose progress twice as often as players who MOG once per 15 minutes.
A simple decision rule: only challenge a player if your total stat score is within 20% of theirs, if you are inside the Town Square (low bystander risk), and if your MogPoints are already banked. If any of those three checks fail, run. Sprint uses stamina, but losing a MOG uses your entire run. If you are still learning the timing, the Mog or Die beginners tips guide has a flowchart for picking fights.
Frequently Asked Questions
What is the safest spawn zone for a new Mog or Die player?
The Town Square is the safest spawn because it has the densest NPC population, the most Milk vendors, and the lowest player traffic. Stay there for your first 30 minutes to bank a MogPoint buffer before venturing into the Outer Suburb or Back Alley.
How do Mog or Die mobile controls differ from PC?
Mobile controls use a left virtual joystick for movement, a right-side jump button, and a pop-up action button that appears near collectibles. PC players get full keyboard and mouse movement, which is faster but does not change the underlying MOG mechanics.
Can I rebind the Xbox controls in Mog or Die?
Open the pause menu, select Controls, then choose Remap. Most players move Jump to A (or the right trigger on console) to free up the thumbstick, and rebind the context action — the one used to grab Milk bottles and Mog collectibles — to RB or LT for one-tap pickups. After remapping, test the layout in the Town Square against stationary Milk vendors before committing it across the Outer Suburb and Back Alley, since a misplaced context bind can cost you 1-2 seconds per collectible during a MogPoint grind run.
What is the fastest stat to raise as a beginner?
Height is the fastest beginner stat because Milk vendors are abundant in the Town Square and each drink gives a flat Height boost. Aim to push Height to 50 before chasing Face, Frame, or Bodyfat, since Face and Frame each cost roughly 1.5–2x more MogPoints per point than Height at vendor rates, and Bodyfat requires visiting specific NPC trainers in the Outer Suburb that new players cannot safely reach until they have a Height-based jump threshold cleared.
How often do Mog or Die spawn points rotate?
Spawn points do not rotate during a session — your assigned zone is fixed until you leave the server. Leaving and rejoining can place you in a different zone, but the assignment is otherwise stable, which makes the Town Square a reliable training ground.