
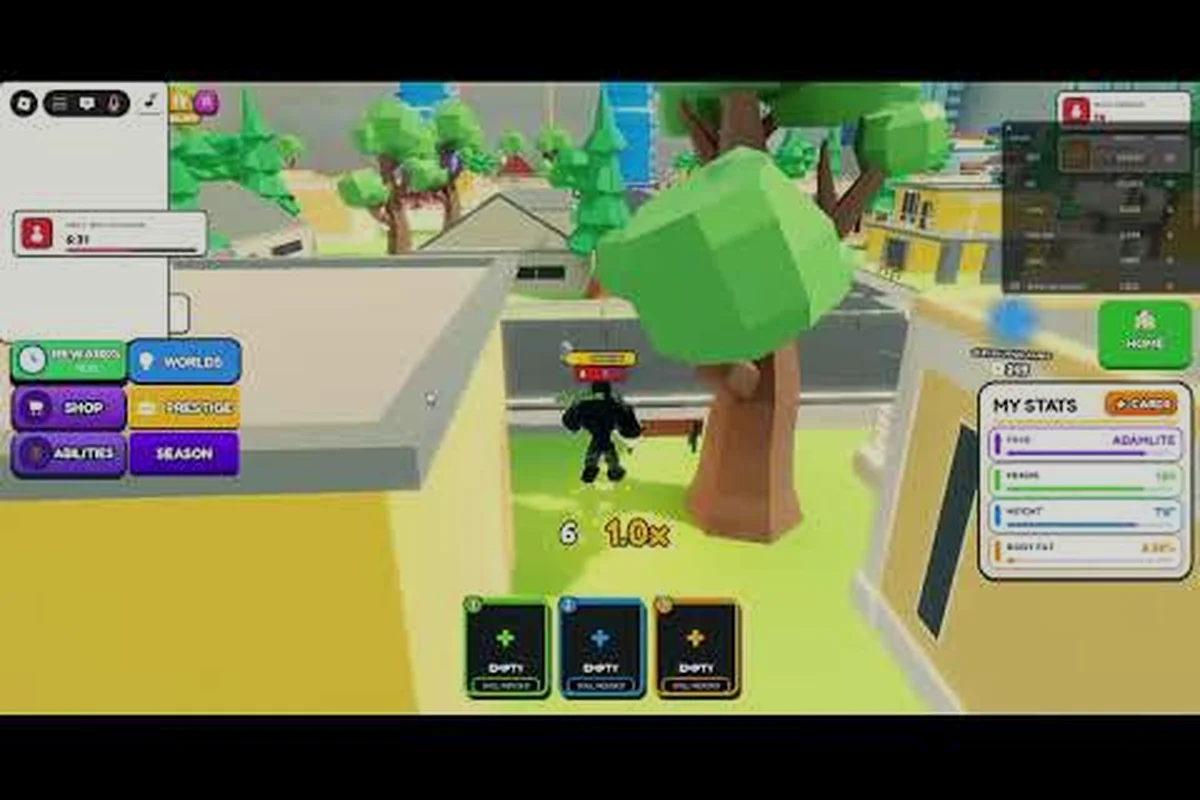
Boss fights in Mog or Die are the single fastest way to convert raw playtime into MogPoints, Golden collectibles, and bounty pressure that pushes the entire lobby into chaos. Knowing how to beat Mog or Die bosses separates players who farm for twenty minutes and walk away with a stack of rare drops from those who run around for hours picking up scraps. This guide breaks down every spawn window, every Risk Zone rule, and every practical farming route so you stop guessing and start collecting.
Bosses in this Roblox sim are not random encounters. They are scheduled events with predictable timers, fixed spawn regions, and reward tables that scale with how many players you bring. The official Mog or Die on Roblox page confirms that world bosses sit on bigger reward tables than standard NPCs, and that defeating them raises your bounty pressure across the whole server. Once you understand the system, boss farming becomes a routine rather than a gamble.
The Three-Layer Boss Encounter Model
Every boss encounter in Mog or Die is built on three layers: a spawn window that dictates when the NPC enters the map, a Risk Zone that dictates where the fight actually happens, and a reward roll that converts your damage contribution into loot. Players who skip any of these layers tend to show up late, fight in the wrong place, or deal damage that does not count toward the kill credit.
The first thing to internalize is that the game tracks your participation by damage dealt inside the Risk Zone during the active window. Standing near the boss and emoting does not register. You have to land hits, finish off adds, or use the MOG Battle interaction during the window. Once the timer closes, the boss despawns and the reward table rolls only for players who were tagged as participants.
Boss Category Breakdown
| Category | Spawn Source | Typical Lure | Reward Tier | Best For |
|---|---|---|---|---|
| Special NPC | Fixed map zone | None (scripted) | Guaranteed drop, low MogPoints | Early-game safe farming |
| World Boss | Risk Zone timer | Mog Drop contest | High MogPoints, rare rolls | Mid-game progression |
| Seasonal Boss | Developer milestone | Limited-event schedule | Cosmetic + Golden drops | End-game collectors |
| Event Mini-Boss | Weather or world event | Triggered by event | Bonus table, short window | Opportunistic farming |
Each category has a different value profile, and your farming route should rotate between them rather than camping one type. The official store page notes that special NPCs are tuned for safe early MogPoints, while world bosses are tuned for bigger reward tables, so your risk-reward balance shifts the moment you leave the starter zone.
Risk Zones: Combat, PvP and Bounty Overlap
Risk Zones are the designated combat regions on the map where boss spawns, player versus player combat, and bounty pressure all overlap. The moment you cross into a Risk Zone, the game raises your bounty timer, exposes your position on the minimap for a short window, and tags you as eligible for boss reward rolls. Step outside the zone before the boss dies and your damage does not count.
The mechanic exists for two reasons. First, it prevents passive players from sniping boss credit by sitting in a safe corner. Second, it forces a real choice between safe early-game farming in NPC zones and high-pressure boss farming in Risk Zones, which is exactly where the Mog or Die reroll strategy page picks up when you start chasing rare genetics.
Risk Zone Behavior Comparison
| Action Inside Risk Zone | Effect | Player Impact |
|---|---|---|
| Land damage on boss | Counts toward kill credit | Eligible for reward roll |
| Stay near boss, no damage | Bounty rises, no credit | Wasted pressure |
| Leave zone before kill | Damage contribution drops to zero | Lose reward eligibility |
| Use MOG Battle on rival player | Bounty swap, no boss credit | PvP-focused trade |
| Finish the killing blow | Bonus roll chance | Higher Golden drop rate |
Understanding what are Risk Zones in Mog or Die is the single biggest unlock for new players, because almost every "I fought the boss and got nothing" complaint traces back to the player either standing too far away or stepping out of the zone during the damage race. If you are still learning the map, the Mog or Die beginner guide covers which zones are safe starter areas and which ones are the first Risk Zones you should push into.
Boss Spawn Schedules and Map Locations
Every boss has a fixed spawn region and a recurring timer. The windows are not random; they are scheduled to overlap with the game's natural traffic peaks so that Risk Zones are crowded and reward contention is real. Learning the exact Mog or Die boss spawn windows means you arrive two minutes before the timer, position inside the Risk Zone, and start landing damage the instant the NPC loads in.
The three boss locations you need to memorize first are the Plaza Anchor (central map, highest traffic), the Outer Ring Pit (medium risk, lower population), and the Stormwatch Ridge (late-game Risk Zone, weather-tied spawns). Each one has a different average spawn interval, a different reward table, and a different crowd level, which is why the route you take changes as your gear improves.
Boss Location Quick Reference
| Location | Zone Type | Avg. Spawn Window | Crowd Level | Recommended Group Size |
|---|---|---|---|---|
| Plaza Anchor | Risk Zone (central) | 12-15 min | Very high | 3-5 players |
| Outer Ring Pit | Risk Zone (mid) | 8-10 min | Medium | 2-3 players |
| Stormwatch Ridge | Risk Zone (late) | 18-22 min | Low | 1-2 players |
| Safe NPC Yard | Non-Risk | 4-6 min | Low | Solo |
| Event Plaza | Limited window | Event-tied | Very high | 5+ players |
Plaza Anchor is where most players learn Mog or Die boss fights, because the spawn window is short and the crowd does most of the work for you. Outer Ring Pit is the best farming spot once you have a baseline build, since the window is faster and the competition is thinner. Stormwatch Ridge is for players who already understand bounty pressure and want uncontested boss credit, but the trade-off is a longer wait between spawns.
Boss Rotation Routes That Maximize Loot
Once you know the spawn windows, the next step is to chain them into a rotation. The fastest Mog or Die boss farming route is not the one that fights every boss, but the one that hits the right boss at the right time, in the right zone, with the right group size. Three practical routes cover almost every playstyle.
Solo Farming Route
If you are running solo, you want short windows, low competition, and bosses that die fast. The solo rotation hits the Safe NPC Yard twice, then cuts to Outer Ring Pit for the world boss, then resets. This balances the safe MogPoints income from special NPCs with the higher reward table of a single world boss per loop.
| Step | Location | Window | Goal | Expected Reward |
|---|---|---|---|---|
| 1 | Safe NPC Yard | 4-6 min | Defeat 2 special NPCs | Guaranteed drop, baseline MogPoints |
| 2 | Travel to Outer Ring Pit | ~1 min | Reposition before window | None |
| 3 | Outer Ring Pit boss | 8-10 min | Land full damage, finish blow | High MogPoints, rare roll |
| 4 | Reset and repeat | ~20 min loop | Net positive per cycle | Steady Golden income |
This route works because the Safe NPC Yard is the only zone that does not flag you for bounty pressure, so you bank guaranteed drops while you wait for the world boss timer. Solo players who skip the Safe NPC Yard step and rush straight to the Risk Zone usually end up with a higher bounty and fewer reward rolls, because they spent the early minutes recovering from spawn kills instead of farming.
Group Farming Route
Group play flips the math. With three to five coordinated players, you want the highest-crowd windows, the biggest bosses, and the most contested reward rolls, because the group damage output lets you secure the killing blow more often. The group rotation skips the Safe NPC Yard entirely and chains two Risk Zone bosses back to back.
| Step | Location | Window | Group Role | Reward Focus |
|---|---|---|---|---|
| 1 | Plaza Anchor | 12-15 min | Spread damage, secure kill | Highest MogPoints |
| 2 | Fast travel to Stormwatch Ridge | ~2 min | Reset bounty between bosses | Lower pressure zone |
| 3 | Stormwatch Ridge boss | 18-22 min | Solo-kill credit, bonus roll | Golden drop chance |
| 4 | Optional Event Plaza | Event-tied | Full-group push | Limited cosmetics |
Group farming is also the cleanest way to learn the MOG Battle system, because five players spawning in the same Risk Zone will fight each other for boss credit as much as they fight the boss. Players who want a deeper look at the MOG Battle timing and look-stat brackets should read the Mog or Die endgame abilities page, which covers how the four look stats interact with the MOG window.
Mixed Route for Solo-to-Group Transition
The mixed route is what most players should run during their first week, because it gives you group experience without requiring a full team. You start with the solo rotation, then migrate to a half-full Plaza Anchor window once you have one or two randoms following you into the Risk Zone. The transition works because the Plaza Anchor window is long enough that late arrivals can still land damage and get credit.
This is also the route where limited events and seasonal bosses start to matter. When a developer milestone triggers an Event Plaza spawn, the mixed route pivots to that window instead, because the reward table is inflated for the duration of the event. For the full breakdown of when those events fire and what they drop, the Mog or Die limited events page tracks the seasonal calendar.
Bounty Timer Management Inside Risk Zones
Risk Zone tactics are not just about dealing damage. They are about managing the bounty timer that the zone attaches to you the moment you step inside, which is a hidden mechanic that decides whether you survive long enough to see the reward roll. Bounty pressure rises every time you take or deal damage inside a Risk Zone, and once it crosses certain thresholds, every other player in the zone gets a minimap ping on your position.
Three rules keep the bounty from running away from you. First, enter the Risk Zone only when the boss spawn window is open, so you are never carrying pressure from a wasted window into the next one. Second, finish the boss and leave within ninety seconds, because the bounty decays only after you exit the zone, and standing around trading MOG Battles burns your reward eligibility timer. Third, bank your MogPoints immediately after a successful boss, which you can plan around using the MogPoints currency guide to make sure you are converting drops into permanent progression instead of losing them to a later death.
Bounty Pressure by Zone
| Zone | Entry Bounty | Mid-Window Bounty | Exit Threshold |
|---|---|---|---|
| Safe NPC Yard | 0 | 0 | 0 (no pressure) |
| Plaza Anchor | 15 | 45-60 | Decay after 90s outside |
| Outer Ring Pit | 10 | 30-40 | Decay after 60s outside |
| Stormwatch Ridge | 20 | 50-70 | Decay after 120s outside |
| Event Plaza | 25 | 70-90 | Decay after 180s outside |
The numbers above are based on community testing as of the most recent patch and may shift slightly with future tuning. The takeaway is that Plaza Anchor and Event Plaza are the two highest-pressure zones in the game, and they are also the two zones where the reward tables are biggest. That pressure-reward curve is the entire design of Mog or Die boss farming, and once you accept it, the game stops feeling random and starts feeling like a schedule you can plan around.
Frequently Asked Questions
How do I know when a Mog or Die boss is about to spawn?
The game posts a server-wide announcement roughly two minutes before the spawn window opens, and the minimap shows a pulsing marker on the Risk Zone. Players who are already inside a Risk Zone get the announcement earlier than players in safe zones, which is why experienced farmers sit near a zone entrance during the timer. The spawn windows follow a fixed schedule per zone, so you can also predict them by clock-watching once you learn the average interval.
What is the fastest way to get MogPoints from boss fights?
The fastest route is the group rotation through Plaza Anchor, because the crowd damage lets you secure the killing blow more often and the killing blow gives a bonus reward roll. If you are solo, the Outer Ring Pit boss is the better target, since the smaller crowd means more of the boss HP is yours to convert into credit. Pair the boss kill with a Safe NPC Yard clear before and after the Risk Zone window to bank baseline MogPoints on top of the boss roll.
What are Risk Zones in Mog or Die and should I avoid them as a new player?
Risk Zones are the designated combat regions where boss spawns, PvP, and bounty pressure overlap, and you should enter them only when you understand the bounty timer. New players who jump into Plaza Anchor on their first day usually die before the boss even loads in, because they are carrying pressure from MOG Battles they did not intend to start. Start in the Safe NPC Yard, learn the boss spawn windows, and push into Outer Ring Pit first before you try Plaza Anchor.
Can I farm Mog or Die bosses solo without a group?
Yes, but your reward rolls will be smaller and your kill credit harder to secure. Solo players do best at Outer Ring Pit and Stormwatch Ridge, where the crowd is thin and the spawn window is long enough that one player can land most of the damage. The solo rotation in this guide hits the Safe NPC Yard twice and then chains one world boss per loop, which is enough to build a steady Golden drop income without needing a coordinated team.
How do Mog or Die boss drops compare to Mog Drop air-drops?
Boss drops are guaranteed for any player who lands damage during the spawn window, while Mog Drops are contested air-drops that spawn periodically and can be stolen by other players. Bosses are the more reliable MogPoints source because the reward table rolls for every participant, whereas Mog Drops are a high-risk grab that rewards whoever happens to be closest when the crate lands. Farming bosses first and grabbing Mog Drops second is the standard progression order for most players.