
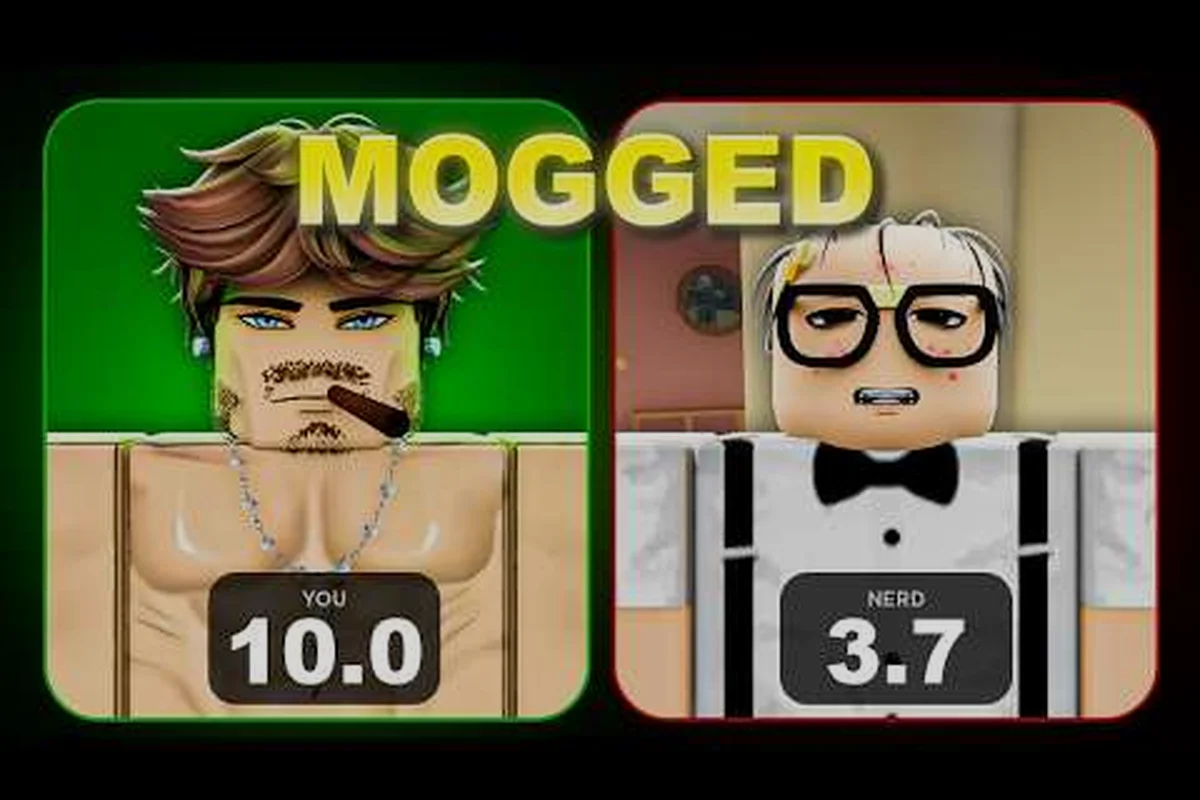
If you have ever spawned into Mog or Die as a tiny SUB5 and watched another player walk up and instantly delete your progress, the lobby is exactly where that story starts. This Mog or Die lobby guide breaks down how the run structure actually works, what triggers a death, and why losing progress is the single biggest threat to your climb toward becoming a MOGGER. The official Mog or Die page on Roblox lists four look stats to chase — Height (Milk), Face (Hammers), Frame (Picture Frames), and Bodyfat (Water) — and every lobby mechanic is built around helping you collect those resources or steal them from somebody else.
What the Mog or Die Lobby Actually Is
The lobby is the shared staging area that surrounds the active run zone in Mog or Die. It is not a menu screen or a hub world — it is a live, player-filled space where pickups spawn, where other runners are walking around, and where a death can happen at any second.
When you join a server, you appear in the lobby with your current look stats and whatever MogPoints you have banked. According to the game's official description, the first 30 minutes of a run are typically spent grabbing the four pickup types, unlocking the Mog Upgrader with MogPoints, and collecting Daily and Playtime Rewards before challenging an NPC to your first MOG Battle. None of that happens in a vacuum — every other player in the lobby is running the same loop, and the lobby itself is where most of those pickups actually live.
The lobby also acts as the soft wall between your safe progress and the danger zone. Your banked look stats, claimed rewards, and Mog Upgrader upgrades stay safe across deaths, but anything you are physically carrying or have staged during a run can be wiped. Community testing reports that this split is what makes the lobby feel tense: you are always one bad encounter away from losing the run you are currently in, even if your long-term account progress is fine.
Lobby Layout and Core Zones
Mog or Die does not publish a literal mini-map overlay, but players who have logged hundreds of hours break the lobby into three repeating zones. The first is the pickup ring, a wide area where Milk, Hammers, Picture Frames, and Water spawn on a rotating timer. The second is the NPC encounter pad, where the first MOG Battle against an AI opponent can be triggered to learn the SPARE vs MOG choice. The third is the Mog Upgrader station, where you spend accumulated MogPoints to lock in stat gains.
| Zone | What Happens There | Main Risk |
|---|---|---|
| Pickup ring | Four pickup types respawn on rotation | Getting jumped by aggressive runners |
| NPC encounter pad | First SPARE vs MOG tutorial battle | Minimal — NPC only |
| Mog Upgrader station | Spend MogPoints to upgrade look stats | Station is in the open, vulnerable to attacks |
The fact that all three zones overlap inside the same physical lobby is the entire reason a "lobby guide" is a thing. You cannot stand still in one spot and expect to progress — you have to move between zones, and every step is an exposure window.
How a Mog or Die Run Actually Starts
A run in Mog or Die begins the moment you respawn or join a server, and it ends the moment you either voluntarily extract your gains, die, or hit the natural session cap. The game does not broadcast a hard "RUN STARTED" banner, which is part of why new players get confused about whether they are mid-run or in a recovery state.
The First 30 Minutes of a Run
According to the data on the official store page, the opening 30 minutes of a Mog or Die run follow a predictable rhythm. You drop into the lobby as a SUB5, you scramble for the four pickup types, you spend the first MogPoints you earn to unlock the Mog Upgrader, you stack your Daily and Playtime Rewards, and then you challenge the NPC to your first MOG Battle so you can practice the SPARE vs MOG decision. The MOG choice in that first fight is purely a tutorial — there is no penalty either way, and the NPC will not counter-attack.
| Run Phase | Time Estimate | Primary Goal | Key Mechanic |
|---|---|---|---|
| Stat collection | 0–10 min | Grab Milk, Hammers, Frames, Water | Pickup rotation |
| First upgrade | 10–15 min | Unlock Mog Upgrader | Spend MogPoints |
| Reward stacking | 15–25 min | Claim Daily + Playtime Rewards | Time-gated chests |
| Tutorial MOG Battle | 25–30 min | Learn SPARE vs MOG vs NPC | No risk fight |
After the tutorial battle, the run transitions out of the "safe to learn" window and into the phase where other players can interfere. Once you understand that the first half-hour is a soft tutorial and the second half-hour is the real danger zone, the entire lobby loop starts to make more sense.
What "Mid-Run" Means in Practice
Mid-run is the window after the tutorial MOG Battle where you are stacking stats but have not yet banked them at a Mog Upgrader. Because upgrades happen at the station and not on pickup, there is a built-in tension: every second you carry un-upgraded stats is a second another player can take them from you. Community runs on the Berlian kecil YouTube channel show players racing the timer between pickup and upgrade, which is the core loop most new players miss on their first few attempts.
Mog or Die Death Explained
Death in Mog or Die is not a single event — it is a layered system, and the layer that triggers depends on what you were doing when you died. This is the part of the Mog or Die run explained that catches the most new players off guard, because two deaths that look identical on screen can have completely different consequences.
The Three Death Layers
| Death Type | Trigger | What You Lose | Can You Recover? |
|---|---|---|---|
| Tutorial death | NPC fight failure | Nothing | Yes, immediately |
| Run death | Killed by another player in the lobby | Un-upgraded stat pickups from current run | Yes, start new run |
| Permadeath flag | Server wipe or extreme event | Match-rated gear | No, full restart |
The tutorial death layer only matters if you fail the NPC encounter, which is almost impossible by design. The run death layer is what most players mean when they say "I died in Mog or Die" — you were carrying a stack of look stat pickups, another player engaged you, and you lost the run. Your account-level progress (MogPoints, unlocked Mog Upgrader nodes, claimed Daily Rewards) is untouched. The permadeath flag is a rare edge case tied to server events and is not part of the standard loop.
What a Death Actually Looks Like in the Lobby
When another player kills you, you respawn at the lobby spawn point as a fresh SUB5 with zero pickups in your bag. Your look stats visually reset to the baseline until you re-collect the four pickup types. Banked MogPoints, claimed rewards, and any permanent unlocks stay on your account, which is why the game frames death as a run reset rather than a full save wipe. The community refers to this as "soft death" because the long-term climb is unaffected — only the current run's haul is gone.
Why Losing Progress Is the Real Threat
The reason dying feels so punishing in Mog or Die is not the death itself — it is the time sink of rebuilding a run from zero. Every minute you spent collecting pickups before the death is gone, and the second you respawn, the lobby's pickup rotation may have shifted so the resources you had been stacking are no longer in the same spots.
How Progress Loss Cascades
The cascade below is what experienced runners describe as the real cost of dying. Each row multiplies the time cost of the row above it, which is why a single death at minute 25 of a run can feel like losing an entire play session.
| Cascade Step | Time Lost | Why It Hurts |
|---|---|---|
| Respawn as SUB5 | 30 sec | Have to recollect all four pickup types |
| Pickup rotation shift | 2–5 min | Spawns may not be where you remember |
| Re-stack stat totals | 5–10 min | Have to reach previous run's level again |
| Re-upgrade at Mog Upgrader | 2–3 min | Spend MogPoints again to lock gains |
| Daily/Playtime Reward cooldown | Hours | Already claimed, must wait for next cycle |
The bottom row is the one that hurts the most. If you die right after claiming a Playtime Reward, you cannot re-claim it on the same cycle — you have to wait for the next rotation. Community data suggests this is the single biggest motivator for cautious play, because the reward cooldown punishes you whether you died or survived.
Why the Lobby Encourages Aggression Anyway
Despite the punishment, the lobby is full of aggressive players because the MOG Battle system rewards stealing other runners' progress. The matchup and bounty system lets high-stat players collect bounties on weaker targets, and the four-look-stat system means there are always runners with uneven stat distributions worth picking off. The threat of losing progress is what gives the bounty system its value, which means the lobby is intentionally tuned to be dangerous after the tutorial window.
How to Not Die in the Mog or Die Lobby
Surviving the lobby is less about reaction speed and more about route planning, timing, and knowing when to bank your pickups. The Mog or Die survival guide covers the broader co-op and private-server angle, but the lobby itself rewards a few repeatable habits.
Core Survival Habits
| Habit | When to Use It | Why It Works |
|---|---|---|
| Bank pickups early | Every 5–7 min | Locks stats before you can lose them |
| Stay near upgrade station | Mid-run | Short escape path if attacked |
| Watch pickup rotation timer | Always | Predicts where other runners will be |
| Avoid the NPC pad after tutorial | Post-run 30 | NPC is gone, pad is empty death trap |
| Stack Daily Reward first | Session start | Locks the reward before any risk |
The single highest-impact habit is banking pickups early. Every minute you carry un-upgraded stats is a minute a bounty hunter can cash in your run. Experienced runners report that capping each pickup run at 5–7 minutes before returning to the Mog Upgrader station is the most reliable way to reduce the chance of losing progress to zero.
Lobby Intel: Crowd Density and Top Stats
Before you walk out of the spawn zone, count how many players are near the pickup ring and whether any of them are visibly high-stat. If the lobby is crowded and at least one player has stacked Height and Frame to mogger-tier, treat the pickup ring as hostile and rotate to the upgrade station first. Conversely, if the lobby is mostly empty or everyone is still in the tutorial phase, you can safely push the pickup ring for a full 10-minute stack before banking.
Community testing also shows that the pickup rotation timer is a public signal — every player sees the same spawn pattern, so when the timer flips, everyone moves at once. If you arrive at a pickup ring right as the timer flips, expect a crowd. If you arrive two minutes after a flip, the ring is usually empty because most runners have already grabbed their haul and moved on.
Advanced Lobby Strategy: Run Timing and Extraction
Once you understand the basic survival habits, the next layer of optimization is run timing — choosing when to start, when to bank, and when to extract. The game does not publish exact server wipe timers, but community data suggests that lobbies tend to peak in population during the first hour after a fresh server opens, then thin out as runners die or extract.
Run Timing Matrix
| Server Age | Lobby Population | Best Strategy |
|---|---|---|
| 0–15 min | Rising | Rush pickups, avoid combat |
| 15–45 min | Peak | Bank often, stay near upgrade station |
| 45–90 min | Declining | Push aggressive MOG Battles for bounties |
| 90+ min | Thin | Safe to farm pickups for next-cycle prep |
This matrix is why experienced players often server-hop in the first 15 minutes. A fresh server means fewer bounty hunters, more predictable pickup rotations, and a longer tutorial window before the lobby turns hostile. If you are working on a Daily Reward cycle, joining a fresh server is often faster than trying to farm in a peak-population lobby where every pickup is contested.
Extraction and Re-Entry
The final piece of advanced lobby play is knowing when to extract — meaning voluntarily end the run and bank everything. Extraction is not a button in the lobby; it happens naturally when you spend enough MogPoints at the Mog Upgrader to lock your current look stat gains. Once your stats are upgraded, there is no reason to keep running in a hostile lobby, and the smart play is to leave or move to a private server. The private and VIP server breakdown covers the multiplayer logistics, but the lobby principle is the same: extract as soon as your run is banked, and do not linger.
Frequently Asked Questions
What exactly does the Mog or Die lobby guide cover?
The Mog or Die lobby guide covers the shared staging area where every run starts, including the three repeating zones (pickup ring, NPC encounter pad, Mog Upgrader station), the first 30 minutes of the run structure, and the death-and-progress-loss system. It is the foundation piece to read before diving into matchups or genetics, because every other system in the game begins in the lobby.
How do Mog or Die runs actually work?
A Mog or Die run begins when you spawn or respawn in the lobby, lasts until you die or voluntarily bank your gains, and is structured around collecting the four pickup types (Milk, Hammers, Picture Frames, Water), spending MogPoints at the Mog Upgrader, claiming Daily and Playtime Rewards, and engaging in MOG Battles. The first 30 minutes are a soft tutorial; after that, other players can engage you and reset your run.
What happens when you die in Mog or Die?
When you die in Mog or Die, you respawn as a fresh SUB5 with no un-upgraded pickups, and your in-progress run is wiped. Your account-level MogPoints, claimed Daily/Playtime Rewards, and permanent Mog Upgrader unlocks are not lost — only the current run's haul is gone. The death is a soft reset, not a full save wipe.
Why is losing progress such a big threat in Mog or Die?
Losing progress is a big threat because the time cost of rebuilding a run cascades — respawning as SUB5, waiting for pickup rotation, re-stacking stats, and re-spending MogPoints can cost 15+ minutes per death, and a death right after claiming a Playtime Reward locks you out of that reward for the entire cycle. The bounty system intentionally makes the lobby dangerous, so the punishment is the point.
How do you avoid dying in the Mog or Die lobby?
To avoid dying in the Mog or Die lobby, bank pickups every 5–7 minutes at the Mog Upgrader station, stay near the upgrade station during peak population, watch the pickup rotation timer to avoid crowds, and extract as soon as your run is banked. Server-hopping in the first 15 minutes of a fresh server is also a reliable way to avoid bounty hunters while you practice the loop.