
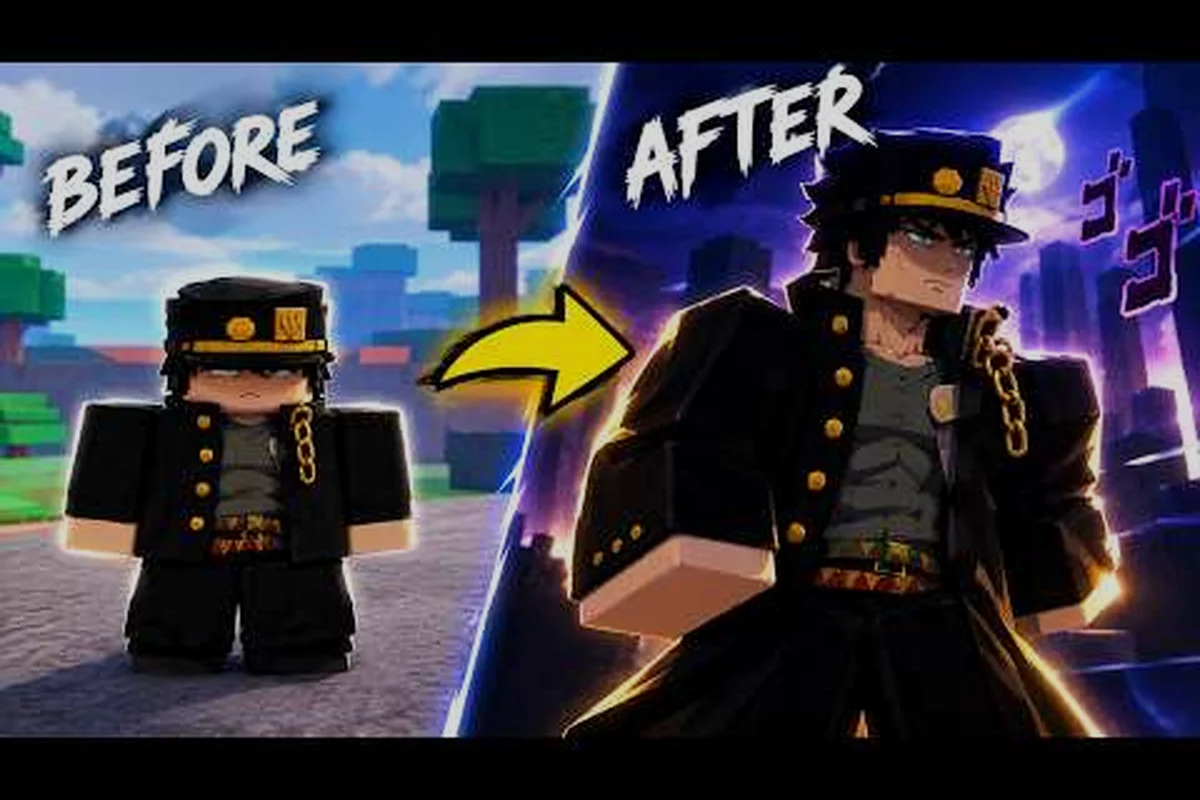
Your First 30 Minutes in Mog or Die
Spawning into Mog or Die for the first time drops you onto a Roblox server as a tiny Sub5 — a starter avatar that looks, walks, and almost certainly moggs nobody. The whole hook of the game is the climb from that Sub5 to a fully realized Mogger, and the loop is surprisingly deep for what looks like a meme simulator on the surface. This Mog or Die tutorial breaks down exactly what to do in the opening half hour so the first session feels productive instead of confused.
According to the official Mog or Die Roblox page, the experience launched on July 26, 2026 under the Build a Ore Farm group run by xKingCeryx, and it has already cleared 8 million visits with a 93% thumbs-up rating as of September 2026. The game sits in the Simulation genre but borrows its core fantasy from the looksmaxxing / mogging meme scene, so understanding the basics is the difference between aimless clicking and a real build path.
The walkthrough below assumes the standard PC keyboard-and-mouse setup that the game was designed around. Mobile controls exist but are clunky for the precise movement needed during MOG Battles, so most of the community plays on desktop.
Core Mog or Die Controls and PC Bindings
Before chasing any pickups, lock in the basic Mog or Die PC controls. The game does not bury a settings menu — movement, interaction, and combat are all mapped to standard Roblox keys with a few additions specific to mogging. Getting these wired into muscle memory now saves real time once the server gets crowded and pickable items are being contested.
| Action | PC Keybind | What It Does |
|---|---|---|
| Walk / Run | W, A, S, D | Standard Roblox movement; hold Shift to sprint |
| Jump | Space | Used for traversal and minor dodges in MOG Battles |
| Pick Up Item | E (or auto on touch) | Grabs a pickup when standing on its hitbox |
| Open Shop / Menu | M or the on-screen icon | Pulls up MogPoints, upgrades, and the Daily Reward panel |
| Interact with NPC | E | Triggers dialogue, MOG Battle challenge, or training events |
| Toggle Camera | Right Mouse Button | Switches between follow-cam and free-look for pickup scouting |
| Use Consumable | 1–4 | Slots for Milk, Water, Hammers, and Picture Frames once collected |
| Emote Wheel | B | Cosmetic taunts — useful in MOG Battle intro screens |
These Mog or Die controls are tuned for a keyboard-heavy playstyle, so a quick practice run around the spawn island helps a lot. Notice that the four pickups — Milk, Hammers, Water, and Picture Frames — all use the same E-to-collect prompt, so the player only has to learn one input for the entire resource loop.
Look Stats Explained
Every pickup in Mog or Die feeds a specific Look Stat, and these stats are the actual progression numbers driving your Mogger build. The look stats are the four pillars that determine whether a player looks like a Sub5 or a top-of-the-leaderboard Mogger.
| Look Stat | Primary Pickup | Effect on Avatar |
|---|---|---|
| Height | Milk | Makes the avatar taller with each milestone |
| Face | Hammers | Sharper facial features at higher thresholds |
| Frame | Picture Frames | Wider shoulders and better posture |
| Bodyfat | Water | Lower body fat percentage, leaner silhouette |
All four stats contribute to a hidden Mogger Rating that decides the outcome of every MOG Battle. According to the official game page data, the four stats stack independently, so a player who chases only Height will lose MOG Battles against someone with a balanced profile. Early on, focus on hitting the first milestone in each stat rather than maxing one.
The First Mog or Die Walkthrough: Pickups, Upgrades, and Battles
The opening run of any Mog or Die walkthrough follows the same loop, and rushing the steps leads to wasted MogPoints. Take it slow the first time so the muscle memory sticks, then speed through on subsequent runs. Most players who bounce off the game early do so because they skip the Mog Upgrader and jump straight into a MOG Battle at Sub5, which is a guaranteed loss.
Step 1: Collect the Four Pickup Types
Spend the first 10 minutes running a wide loop around the spawn area, picking up whatever respawns. The map seeds pickups in predictable clusters, so a single orbit usually yields one of each type. Do not ignore Milk even if Height is not your priority — every stat needs at least one pickup to register, and the first collection often triggers a tutorial popup that explains the next step.
| Pickup | Spawn Pattern | Beginner Tip |
|---|---|---|
| Milk | Near vending machines and fountains | Grab two before moving on; the first one only unlocks the stat |
| Hammers | Construction sites, gym zones | Watch for the swinging animation before walking in |
| Water | Pools, puddles, and the Water Tower | One pickup is enough to unlock the stat for the first hour |
| Picture Frames | Indoor rooms, art walls | Slower to find; ask in chat if none have spawned in 5 minutes |
Step 2: Unlock the Mog Upgrader
Once each of the four stats has been touched at least once, the Mog Upgrader NPC unlocks near the center of the hub. Talk to him with E and spend the initial MogPoints — earned passively while walking and by completing pickups — on the cheapest upgrade available. According to community data, the first upgrade usually costs around 50 MogPoints and applies a small multiplier to one Look Stat. There is no wrong first pick, but most experienced players recommend the Height upgrade because it is the most visible change and helps the player feel rewarded for the grind.
If the MogPoints economy feels confusing, the how to get MogPoints guide breaks down the exact passive rates, pickup bonuses, and gamepass shortcuts. It pairs well with this tutorial because both of the first 30 minutes are about converting time into MogPoints.
Step 3: Collect Daily and Playtime Panels
The Daily Reward panel lives one tab over from the Mog Upgrader. A free spin unlocks every 24 hours of real time, and the Playtime Reward ticks up automatically each minute of active play. Both reward tracks drop cosmetics, small MogPoints boosts, and the occasional Lucky Spin token. Skipping them on day one is one of the most common beginner mistakes, because the free spins are the cheapest way to start stacking Mogger gear without spending Robux.
Step 4: Challenge an NPC to Your First MOG Battle
With the Mog Upgrader unlocked and at least one stat bumped, the player can challenge the trainer NPC standing near the upgrade hub. The trainer will not refuse a duel even if the player is still Sub5, but losing is the most reliable way to learn the MOG Battle timing windows. The mechanic is a rhythm-style SPARE-or-MOG choice: SPARE ends the fight without penalty, MOG commits to a full exchange where the better Mogger Rating wins.
| Phase | Player Action | Outcome If MOG Is Picked |
|---|---|---|
| Intro | Hold E to initiate | Camera locks, both avatars strike a pose |
| Build-Up | Wait for the prompt pulse | Tapping early cancels the round |
| MOG Choice | Click MOG before the timer ends | Triggers stat comparison + finisher animation |
| Finisher | Watch the cutscene | Winner gains bonus MogPoints and a small rating bump |
Community guides for what a Mogger actually is explain the meta behind choosing MOG versus SPARE, but for the first battle the goal is simply to finish one cleanly. Even a loss gives a tiny stat toward the daily challenge, so there is no reason to skip it.
Mog or Die Basics: Economy, Stats, and the Mogger Rating
Once the first run is done, it helps to zoom out and understand the underlying numbers. Mog or Die basics are not complicated, but the systems layer on each other, and players who skip this section usually feel lost by hour five when progress starts to slow down. The short version: every action feeds either a Look Stat or the MogPoints wallet, and both feed back into the Mogger Rating that decides PvP outcomes.
MogPoints Income Sources
MogPoints are the soft currency of the entire game. They are spent on the Mog Upgrader, on ability rolls, on Lucky Spins, and on most of the Mogger-tier cosmetics. Knowing the income sources lets the player plan around the biggest spending events instead of blowing the wallet on small upgrades.
| Source | Approx. Yield | Notes |
|---|---|---|
| Walking / Sprinting | 1 per few seconds | Passive, scales with Look Stats |
| Pickup Collection | 5–20 per item | Higher stats reward more MogPoints per pickup |
| MOG Battle Win | 30–80 | Scales with opponent rating |
| Daily Reward | 50–200 | Free once per real day |
| Playtime Reward | Variable | Longer sessions unlock bigger buckets |
| Code Redemption | Variable, often large | Active Mog or Die codes can give 100+ MogPoints plus Lucky Spins |
Look Stat Progression Tiers
Each Look Stat moves through a series of visual and numerical tiers. Hitting a tier triggers a short transformation animation and a notification to nearby players, which is part of the social pull of the game. The tier names are not officially numbered in public data, but community testing has mapped out a consistent pattern.
| Tier Label (community) | Approx. Pickups Needed | Visual Change |
|---|---|---|
| Sub5 | 0–3 | Default starter body |
| Soft Mogger | 4–15 | Subtle muscle / height gain |
| Mid Mogger | 15–40 | Noticeable frame and face sharpening |
| Hard Mogger | 40–80 | Strong silhouette, clearly above average |
| Mogger | 80+ | Max-tier look, leaderboard eligible |
The Mog or Die stat reset guide covers what happens when the player wants to reroll a stat or sync the four stats to a new build. It is worth reading before committing to a single-stat grind, because the reset is not free past the first attempt.
Common Beginner Mistakes and How to Avoid Them
The first two or three sessions in Mog or Die are where most of the avoidable mistakes happen. A few of them are obvious in hindsight but feel like normal play at the time. Running through them quickly before launching the game saves hours of frustration.
Mistake 1: Ignoring Water and Hammers
Many new players chase Milk because the height change is the most visible, then wonder why their Mogger Rating is stuck. Water and Hammers feed Bodyfat and Face, and both stats contribute to the rating calculation. The fix is simple: alternate pickups on every loop instead of farming one type. Within 15 minutes the four stats should all be unlocked, which is the real starting line for the game.
Mistake 2: Wandering Past the Upgrader NPC
The Mog Upgrader is the single biggest permanent boost available in the first hour, and players who wander past it lose a meaningful chunk of early Mogger Rating. Talk to the NPC the moment all four stats are unlocked, even if the only affordable upgrade is a small multiplier. Every upgrade compounds, and skipping the first one delays everything downstream.
Mistake 3: Picking MOG Too Early in Battles
During a MOG Battle, the SPARE option exits the fight without risking rating loss. MOG commits to a stat comparison, and a Sub5 versus a Mid Mogger will lose every time. Use SPARE freely against any opponent whose rating glows a different color in the pre-fight UI, and only MOG when the colors match or when the player has hit at least the Soft Mogger tier in two stats.
Mistake 4: Sleeping on Codes and Daily Spins
The Mog or Die code redemption page is updated regularly, and active codes typically give a mix of free MogPoints, Lucky Spins, and cosmetic auras. A two-minute code check before each session is one of the highest-MogPoints-per-minute activities in the game, yet most beginners forget to redeem until much later.
Mistake 5: Forgetting to Roll Abilities
Abilities are rolled through a separate NPC and add combat effects to MOG Battles. The ability guide walks through the full ability list, but the short version is that the first roll should happen as soon as the player has 100 MogPoints banked. A good ability can swing an evenly matched MOG Battle, and rolling early gives more reroll chances over time.
Quick-Reference Cheat Sheet for the First Hour
To wrap the tutorial into something skimmable, here is a single-page reference of the opening hour. Print it mentally, screenshot it, or just keep this tab open — the first hour is mostly about hitting these milestones in order, and the rest of the game opens up once they are all done.
| Time | Goal | Milestone to Hit |
|---|---|---|
| 0–10 min | Collect at least 1 of each pickup | Unlock all 4 Look Stats |
| 10–15 min | Talk to the Mog Upgrader NPC | First permanent upgrade applied |
| 15–20 min | Claim Daily Reward + Playtime Reward | Free MogPoints and Lucky Spin tokens banked |
| 20–30 min | Challenge the trainer NPC | First MOG Battle completed (win or lose) |
| 30–45 min | Roll first ability | Ability slot filled, combat options expanded |
| 45–60 min | Redeem active codes | Free MogPoints and cosmetics applied |
Once all six milestones are cleared, the game shifts from a tutorial to a real progression loop. At that point the player is no longer a Sub5, has permanent upgrades banked, and can start joining the contested pickup zones for faster farming. That is the moment Mog or Die stops feeling like a meme and starts feeling like a real Roblox sim.
Frequently Asked Questions
How long does the first Mog or Die run take from spawn to first MOG Battle?
Most players reach their first MOG Battle within 20 to 30 minutes of spawn. The bottleneck is the Mog Upgrader unlock, which only triggers after all four Look Stats have received at least one pickup. After that, the trainer NPC accepts challenges immediately, so the actual fight can happen on the same session.
Do Mog or Die PC controls work the same on Mac?
The keybinds are identical on Mac, but a few players report that the sprint key (Shift) occasionally conflicts with the Roblox chat shortcut. The fix is to remap sprint in the Roblox settings menu to a side mouse button or Caps Lock, which keeps the rest of the standard WASD + Space + E layout untouched.
Can I skip the Mog Upgrader and just grind pickups instead?
Technically yes, but the Mogger Rating math is heavily weighted by upgrades, so skipping the Mog Upgrader means losing most MOG Battles against players who did use it. The first upgrade is cheap on purpose, and saving MogPoints past it only delays the rating climb. Treat the upgrade NPC as part of the core loop, not an optional side track.
What should I spend my first Lucky Spins on?
Lucky Spins drop a mix of cosmetics, MogPoints, and rare ability shards. Early on, prioritize the MogPoints and ability shards because they feed directly into the rating and combat systems. Save cosmetic auras for later sessions once the main stats are stable, since cosmetics do not affect the Mogger Rating calculation.
Is Mog or Die playable solo or do I need a group?
The game is fully solo-friendly. The four pickup types respawn independently, MOG Battles match the player against NPCs or other server players on demand, and the upgrade systems do not require any party coordination. That said, grouping with one or two friends makes contested pickup zones much easier during peak player hours, and a small group can rotate who challenges whom in MOG Battles for fast rating climbs.