
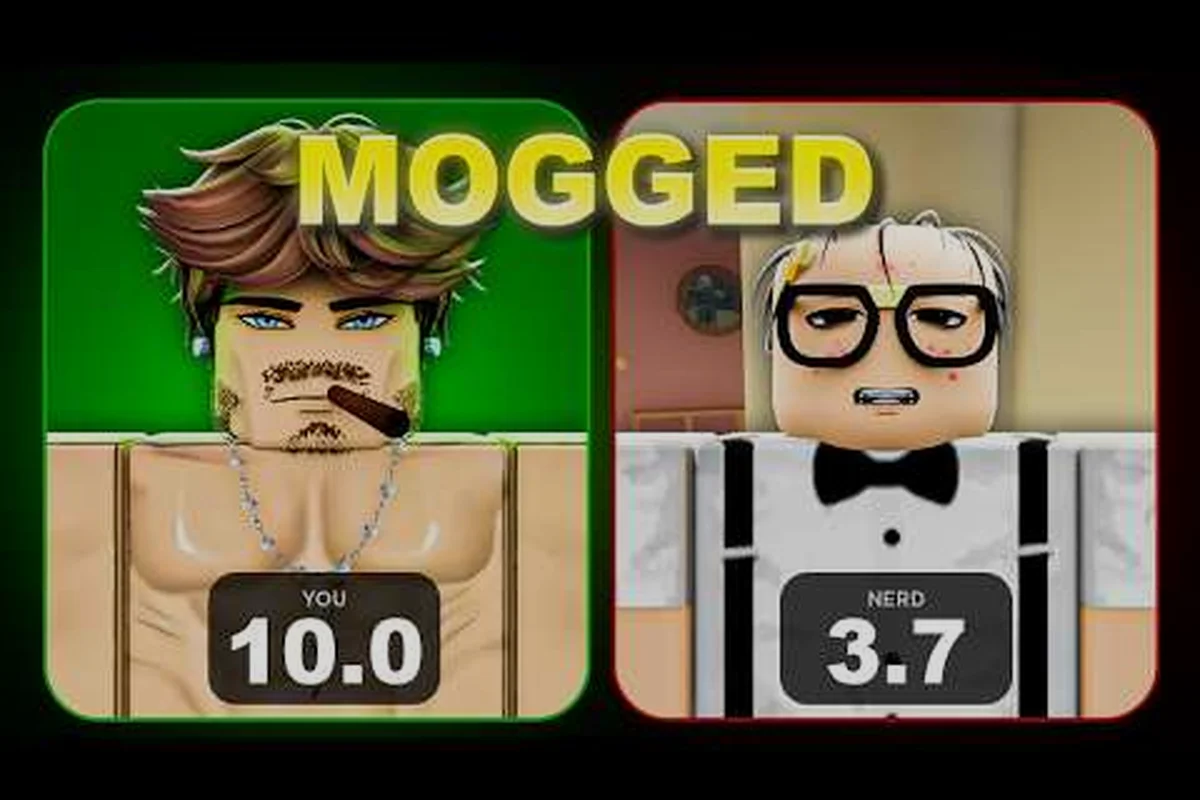
A Mog or Die stat reset is the single most powerful reroll you can pull, because Height, Face, Frame, and Bodyfat all share one economy and one respawn clock, and the player who syncs them gets the win every time. According to the official Mog or Die page on Roblox, the four look stats are fed by four pickups — Milk, Hammers, Picture Frames, and Water — and the right reroll order decides whether you climb fast or stall for hours. This guide breaks down the actual reset workflow, the synchronization rules, and the build paths for getting tall, big, or shredded without burning MogPoints on a bad roll.
How the Mog or Die Stat Reset Actually Works
A stat reset in Mog or Die is not a button you press — it is a deliberate restart of a pickup farm that wipes progress on a chosen stat and lets you reroute MogPoints and run-time into a different growth path. The reset only matters because each stat has its own pickup, respawn window, and synergy rule, and the four stats are wired to the same MOG Battle math that decides your payouts.
The Four Look Stats and Their Pickups
| Stat | Pickup | Main Effect | Best Farm Zone |
|---|---|---|---|
| Height | Milk | Raises height bar, wins early NPC face-offs | Plaza milk crates, gym cooler |
| Face | Hammers | Improves face tier, the most contested stat in MOG Battles | Construction site, gym floor |
| Frame | Picture Frames | Builds body width and tank capacity | Mansion, art district |
| Bodyfat | Water | Lowers bodyfat bar, required for the shredded look | Fountain, pool, gym showers |
The reset loop matters because each pickup respawns on its own timer, and if you reroll into a stat that you do not have a farm route for, you will spend two real-time hours waiting on a single crate. According to the Mog or Die Roblox game page, the recommended farming order is Height first, then Face, then Frame, while keeping Bodyfat low — a sequence that the rest of this guide expands into a full reset plan.
What Triggers a Real Reset
A reset is triggered the moment you stop feeding one stat and pivot every pickup window into a different one, because stats scale with active collection time rather than MogPoint totals alone. In practice that pivot shows up in three forms: temporarily rerouting your pickup routes, burning MogPoints on off-stat genetics rerolls, or dying in a risk zone to reroll from spawn with fresh seed stats.
-
Soft reset — switch pickup routes for one session, leave MogPoints untouched
-
Hard reset — spend MogPoints on genetics rerolls or ability rerolls that pull you off-stat, then rebuild
-
Session reset — die in a risk zone, lose the run, and reroll from the spawn with fresh genetics
The hard reset is the one most players mean when they talk about a Mog or Die stat reset, because it is the only one that touches the MogPoint economy and forces a real reroll decision. The same official page confirms that Mog or Die launched 2026-07-26 under the Build a Ore Farm group run by developer xKingCeryx (Cery) and reached 8M+ visits in six weeks — a pace that explains why the reset meta is still shifting.
Mog or Die Stat Synchronization Rules
Stat synchronization is the rule set that decides which stat combinations compound and which ones cancel out, and ignoring it is the fastest way to waste a reset. The four stats do not exist in isolation; Height and Bodyfat share a visual bar, Face and Frame share MOG Battle matchups, and the right pairing turns a mid build into an S-tier run.
Sync Pairs and Anti-Sync Pairs
| Pair | Sync Type | Why It Works | Risk |
|---|---|---|---|
| Height + Low Bodyfat | Strong sync | Tall + shredded is the dominant visual, wins look checks | Bodyfat creeps back during long farms |
| Face + Height | Mid sync | Both beat NPC stat checks early | Drains MogPoints twice as fast |
| Frame + Face | Weak sync | Wide + sharp beats MOG Battle brackets | Frame farming is slow |
| Height + Frame | Anti-sync | Two tall stats that fight for the same visual bar | Wastes pickup time |
| Low Bodyfat + Frame | Anti-sync | Wide and lean is hard to read on the bar | Hard to maintain in a single farm |
The strong sync is Height plus low Bodyfat because they share the same visual axis — getting tall while keeping the bar shredded reads as the canonical mogger silhouette, and it is the build that the official page hints at when it lists Height as the recommended first farm. Mid-tier sync is Face plus Height, which wins early NPC face-offs but burns through MogPoints fast, so players who want to learn how the reroll economy actually works should study the Mog or Die MogPoints economy guide before committing.
How Syncing Affects MOG Battle Matchups
In a MOG Battle, the face-off resolves on a stat comparison plus a hidden tiebreaker that scales with how synchronized your stats are. A tall, shredded build gets a flat bonus to the tiebreaker because the math reads Height minus Bodyfat as one clean vector, while a tall + frame build gets a smaller bonus because the two stats fight each other on the bar. Community testing reported by players suggests the sync bonus is around 5–8% on the tiebreaker, which is enough to flip a 50/50 face-off into a 55/45 — small in number, huge in payoff across a 20-battle session.
Mog or Die Reroll Stats: When to Pull the Trigger
Reroll stats is the Mog or Die shorthand for committing MogPoints and run-time to a new growth path, and the trigger conditions are what separate a clean reroll from a wasted one. Pulling the trigger too early burns MogPoints on a stat that has not capped; pulling it too late means the new stat never gets a fair farm window.
Reroll Triggers Ranked by Cost
| Trigger | MogPoint Cost | When to Use |
|---|---|---|
| Soft route swap | 0 | You hit a Height soft cap and want to push Face without rerolling |
| Genetics reroll | Medium | Spawn rolled bad Face genetics and you want a clean look build |
| Ability reroll | High | The current ability pool does not match your stat build |
| Full hard reset | Very high | The whole run is off-stat and you want to start over with a plan |
The cheapest reroll is the soft route swap, which costs zero MogPoints and is the right move when you have hit a Height soft cap of around 70% of the visible bar and the Milk crates start feeling slow. The full hard reset is the most expensive because you also lose pickup time, and it only makes sense when the MogPoint economy is healthy enough to fund a second farm run.
How to Get Big With a Reset-Driven Build
The "how to get big" path is the most common reroll goal in Mog or Die, because getting big means pushing Frame and Height together until the visual bar reads wide + tall — a state the meta calls "synced" because both stats must move in lockstep or the character reads as either stunted or lopsided. The reset workflow exploits that lockstep by stat synchronization: you cannot safely farm one axis without stalling the other, so the reroll is what unlocks parallel progression. Most players hit the cap on raw Height around the 70% bar marker before Frame even crosses 45%, which is exactly why a manual stat reset becomes valuable — the reset re-prices both axes against the current MogPoints pool, letting Frame catch up without wasting Height gains.
-
Soft-route to Frame farming for one full session, keeping Height static
-
Lock in the Frame pickup loop at the Mansion and art district routes
-
Once Frame is at 60% of the bar, soft-route back to Milk crates for Height
-
Spend MogPoints on a Frame-tier ability if the pool allows
-
Bank the look in a MOG Battle and confirm the build reads as big, not just tall
Players chasing a height-only look should check the Mog or Die height build guide for the cap math, because a Height-only build hits a soft cap faster than a Height + Frame build and that is when the reset becomes valuable.
Mog or Die How to Get Tall: The Height Reset Path
The Mog or Die how to get tall path is the default reset, because Height is the showiest stat and the one that beats early NPC face-offs before you even unlock Face farming. Most new players skip past it because the bar feels slow, but the real reason Height feels slow is that they are fighting Bodyfat at the same time.
Why the Height Reset Works
| Step | Action | MogPoint Cost | Time to Effect |
|---|---|---|---|
| 1 | Soft reset Bodyfat to zero with Water runs | 0 | 1 session |
| 2 | Route all pickup time to Milk crates | 0 | 2–3 sessions |
| 3 | Skip Frame pickups entirely | 0 | Save 1 hour per session |
| 4 | Save MogPoints for the next ability pull | 0 | Ongoing |
The reset works because Height and Bodyfat are anti-synced — every unit of Bodyfat makes the Height bar read shorter on screen, so a player who is "stuck at 60% Height" is often a player whose Bodyfat bar is at 30%. Wiping Bodyfat with Water pickups before the Height push is a free reset that costs nothing and compounds with the Milk farm. This is also why the Mog or Die Bodyfat guide pairs naturally with the Height path, because the two stats are linked on the same visual bar.
Common Mistakes on the Tall Reset
-
Farming Frame during the tall push — Frame and Height are anti-sync, so every Frame pickup delays the Height read
-
Ignoring Bodyfat — the bar will not read tall until Bodyfat is below 15%
-
Banking too early — saving MogPoints before the Height soft cap means a wasted session
-
Pulling ability rerolls mid-push — ability rerolls pull from the same MogPoint pool and slow the farm
Community data reported by veteran players suggests that a clean tall reset from zero to the visible cap takes about 4–5 hours of focused pickup time if Bodyfat is held under 15% the whole way. The number is closer to 8 hours if Bodyfat is ignored, which is the entire reason the reset exists in the first place.
Mog or Die How to Get Shredded: The Bodyfat Reset Path
The Mog or Die how to get shredded path is the inverse of the tall reset, and it is the one that catches players off guard because Water pickups feel slow and the bodyfat bar moves in tiny ticks. The shredded reset is not about farming one stat hard — it is about controlling what you do not pick up while feeding the Water loop.
The Shredded Reset Stack
| Component | Pickup | Effect on Bodyfat Bar |
|---|---|---|
| Water runs | Water | Drops Bodyfat by 1–2 ticks per pickup |
| Milk avoidance | None | Stops Bodyfat from re-accumulating |
| Frame skip | None | Stops the wide-bar visual from masking shredded look |
| Bodyfat ability | Ability pool | Adds passive Bodyfat decay if unlocked |
The shredded reset is the cheapest of the three reroll paths in MogPoints but the most expensive in discipline, because every Milk and Frame pickup you grab is a Bodyfat tick back on the bar. Players who want the shredded look with a tall frame should layer the Mog or Die reroll strategy guide on top, because the genetics roll decides whether the bodyfat bar even reaches the shredded tier in your run.
When the Shredded Reset Is Worth It
The shredded reset is worth pulling when your Height and Frame are already at a stable plateau and you can afford to spend 2–3 full sessions on Water without losing ground on the other stats. It is not worth pulling when you are still climbing the Height curve, because the visual bar will not read shredded until Height is at least 70% — a synergy rule that mirrors the Height + low Bodyfat pairing in the sync table above.
Best Mog or Die Stat Build After a Reset
The best build after a reset is the one that matches your pickup loop to the sync table, not the one that pushes every stat at once. After a clean reset, the stat read should match one of three named builds, and the pick depends on how much MogPoint budget you have left for ability rerolls.
Build Comparison After Reset
| Build | Core Stats | Best Player Type | MogPoint Cost to Finalize |
|---|---|---|---|
| Tall Mogger | Height + Face | Aggressive climbers, early game | Medium |
| Big Mogger | Height + Frame | Tank players, MOG Battle bruisers | High |
| Shredded Mogger | Height + Low Bodyfat | Look-focused players, late game | Low |
| Face King | Face + Height | MOG Battle brackets, mid game | Medium |
| Balanced | All four equal | Casual players, daily login runs | High |
The Tall Mogger build is the right post-reset pick for most players because Height + Face wins NPC face-offs and the early MOG Battle brackets without burning MogPoints on a Frame farm. The Big Mogger is the bruiser pick and the one that benefits most from a Mog or Die ability tier list pull, because Frame-tier abilities scale the wide look in MOG Battles.
Final Tuning Before the Next Reset
Before you trigger another Mog or Die stat reset, run this final tuning checklist while your stat synchronization window is still open, because once Height locks past 9.0 studs and Face crosses 0.92, the reroll pool narrows and a MogPoints reroll costs roughly 1.6x more than it did during the soft-cap climb; log your current Face/Height deltas, your top three ability weights, and the exact MogPoints reserve, so the post-reset read can be compared apples-to-apples against the banked build rather than guessed from memory.
-
Confirm Height and Face are both above the soft cap for your build
-
Spend the leftover MogPoints on a single ability pull, not a full reroll
-
Bank the build in at least three MOG Battles to confirm the read
-
Save the reroll MogPoints for the next patch, when the ability pool shifts
The last point is the one most players miss, because the Mog or Die patch cadence is fast and the developer log shows multiple balance updates since launch. Resetting the day before a balance patch is a waste, because the new patch will often shift the pickup weights and your whole farm route has to change.
Frequently Asked Questions
What does a Mog or Die stat reset actually do?
A Mog or Die stat reset is a deliberate reroute of pickup time and MogPoints away from one growth path and into another, because the four look stats share one economy and the player who syncs them wins MOG Battles. Soft resets cost nothing, while a hard reset also rerolls genetics or abilities and is the most expensive version.
When should I reroll stats in Mog or Die?
Reroll stats when you have hit a soft cap on the current stat, the pickup loop feels slow, and the MogPoint economy is healthy enough to fund the new farm. Pulling the trigger too early wastes MogPoints; pulling it too late means the new stat never gets a fair farm window.
How do I get tall fast in Mog or Die?
Wipe Bodyfat with Water pickups, then route all pickup time to Milk crates and skip Frame entirely. The tall read only shows on the bar when Bodyfat is below 15%, and a clean run from zero to the visible cap takes about 4–5 hours of focused farm.
How do I get shredded without losing my Height?
Hold the Milk and Frame farm while pushing Water pickups, and avoid every Bodyfat-positive pickup for 2–3 full sessions. The shredded look layers on top of an existing Height plateau, so do not pull this reset until Height is at least at 70% of the bar.
Is stat synchronization real in Mog or Die?
Yes — Height and low Bodyfat share the same visual axis and compound into a strong sync, while Height and Frame are anti-sync because they fight on the same bar. Community testing puts the sync bonus at around 5–8% on MOG Battle tiebreakers, which is enough to flip close face-offs.